February 27, 2014

Our Family Room

If you're like we are, you live in your family room.  Our room has a very open and sunny feel with windows on three sides.  It's also completely open to the kitchen, and dining room.

This is the view as you step down from our dining room into the family room.  You can see the sofa table that we made behind the couch.

Probably the biggest change is that our comfy couch got a make-over.  Click here to see how I made it look like a brand new couch by sewing a slip cover.

I also moved our railway cart from the living room into here.  It was a little too big for the living room and I was always binking my shin on it.  We love it in here!  It's so rustic and unique and you never worry about being rough on it.
We also like that it says, "Chicago Machinery Exchange" on the side as we live about 4 hours from Chicago and love visiting!  I wonder how many miles this guy traveled before he landed in our family room.

 I also took down the drapes that I had never finished and replaced them with French Country shutters.  Our shutters are not done yet.  We are working on making them functional and also want to add some decorative rustic hinges.  
You can see one of the shutters just propped up against the wall in this picture.  I haven't figured out how to make shutters for the window seat yet.
In this picture, you can see the one on the right of the fireplace hung. They are both hung now on either side of the fireplace.  We need to move the armoire that houses the TV over a little to make room for the shutter.  It's very heavy and so we're procrastinating. 
This is the view of the room as you step down from the kitchen.  (see the kitchen counter in the bottom right of this photo)

And this is the view from my kitchen sink, looking through the pot rack.  The kitchen sink is actually a little to the right and if you're standing at it, you're looking straight into the dining room.
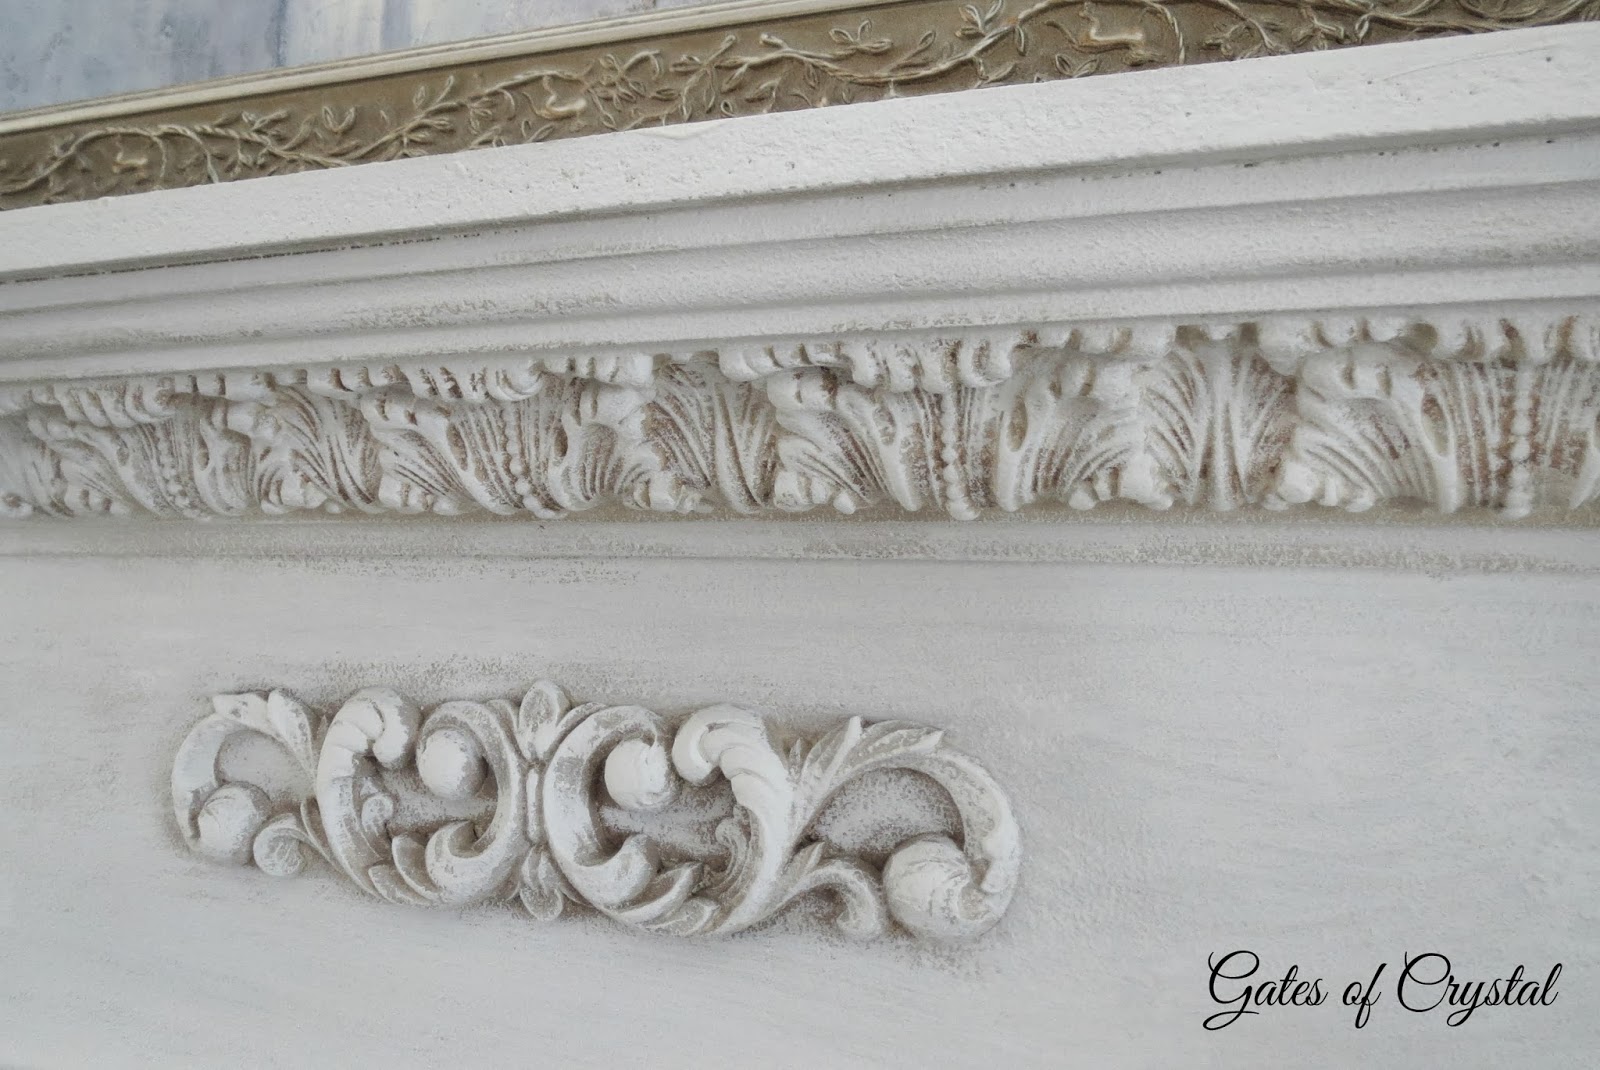
I also brought down a large piece of art that was in the Master Bedroom and propped it over the fireplace. See how we made the fireplace mantle here.
We're enjoying the changes.  We've made so many new pieces lately and changed so much that it takes a while to figure it all out.  

Have a wonderful day!

Love and blessings~
 "Let your light shine before men in such a way that they may see your good works, and glorify your Father who is in heaven." Matthew 5:16 

February 26, 2014

Building a Fireplace Mantle

When we bought our house, it was definitely a fixer-upper.  Almost every light fixture in the house was a globe and the wood finishes and details were very 80's modern.  I envisioned chandeliers and crown mouldings and a little French Country romance and over the years, we are slowly getting there.

I wish I had a picture of the two fireplaces that are in our main floor rooms but I wasn't blogging then and they were ugly.  There were no mantles; the fireplace opening was simply surrounded by a piece of wood. Very stark and contemporary.  And so not Moi!

So I designed two matching mantles for these rooms and Mark, who I affectionately like to call my assistant, built them.  Ha!  What would I do without him?!  :)

We started by building a rectangular box, without a back,  in the appropriate dimensions and then adding moulding to the bottom and crown moulding to the top.  We then added a board that would be the top of the mantle.

We added another bit of moulding to the center.

Before we attached any of the pieces to the fireplace, I sprayed them all with a faux stone spray paint, giving them a more realistic finish.  I then painted them and added dark glaze, antiquing the details.

Mark attached a board to the wall, anchoring it to a stud.  He then attached the mantle to this board, hiding it.

We added corbels that I found at Hobby Lobby.  They are decorative only and don't actually support the fireplace.
We also added this fluted trim along side of the piece of wood that already surrounded the fireplace. Fortunately the combined width of these two pieces was about the same size as the corbel.

I used a stencil and tole paints and stenciled the tile with a fleur de lis pattern.  The heat from the fireplaces has set the paint.


We added two pieces of moulding to the wall above the family room fireplace to emphasize the height.  Then painted between the boards to match the mantle, giving it a more French Country feel.
This is the matching fireplace on the opposite end of the room.
Both fireplaces had brass gas log surrounds which I painted with an oiled bronze paint.

And now, we love them!  A visiting friend thought they were 'stone' although I think the edges are a little sharp for that to be believable but they're dramatic and romantic, giving a much more elegant feel to the rooms.
My husband's a sweetheart!  Whenever he finishes a project, he always looks at me and asks, "What's next?!"  Love him!

I have finally finished staining the end tables he made and hope to get them  posted by the end of the week.

Love and blessings!

" The angel of the LORD appeared to him in a blazing fire from the midst of a bush; and he looked, and behold, the bush was burning with fire, yet the bush was not consumed." Exodus 3:2

I am linking up with 

February 24, 2014

Musical Furniture

Did you ever play musical chairs as a child?  Well, I must not have gotten to play enough when I was little because every once in a while I get the urge to move things around.  It hasn't happened in a while but once I get an idea in my head, I just have to try it.

I moved several things around on my own a couple of weeks ago and still wasn't satisfied so when my husband was home last weekend I asked him if he would help me move the china cabinet back into the dining room where it was several years ago.  I just wasn't liking my damask cabinet there anymore and I was out of paint options for it!
see the armoire in the corner where the damask cabinet used to be?

He looked at me like I'd grown two heads, laughed, and said, "No!"  Then he walked away still chuckling!

Well, I didn't say anything but I hadn't given up.

I had hoped to visit a used furniture store today that I just found on Craig's List but when we got up to another snow day I thought that probably wasn't a good idea.  Then it hit me.

My 6'2" tall (and-still-growing) son would be home today.  And I started to smirk while I drank my coffee. When he got up, I told him I needed his help.

This is the china cabinet that I wanted in the dining room.  See its history here.

Well, you know it's a domino affect.  You  move one thing, then you have move another thing to fill that hole and then you have to move something else there and so on.  My son was a sweetheart and pretty soon we had moved everything that I wanted to.
This clock got moved to where the china cabinet used to be.
And the china cabinet is now in the dining room.
And the armoire got moved to the front hall.
And I love the china cabinet here!  Of course, china cabinets belong in the dining room!


But the clock was perfect where it used to be and it looks a little 'small' in the family room and I really don't like the armoire in the front hall.

So you smile and say, "Thanks, Honey!"  knowing in another week or so, they're gonna have to move some things again.

Maybe I'll find the perfect thing at that shop I wanted to visit... 

Have a great day!

Love and blessings!
"An excellent wife, who can find?  She girds herself with strength and makes her arms strong. " Proverbs 31

II am linking up with A Stroll Thru Life - Inspire-me-Tuesday

February 21, 2014

Burlap, White and Crystal

I love beautiful table scapes and so admire those that can put them together!  I don't seem to have a natural ability to do that and I'm trying to learn.

I've always read that you should 'shop your house' and you would certainly think I have enough 'stuff.'  But I'm going to start with something simple.

I LOVE the look of rustic and bling so with that in mind I mixed burlap place mats, purchased at HomeGoods, with French Country white dishes and crystal.

My husband made the barn wood 'trough' that sits in the center of our table and I filled it with white hydrangeas, gardenias and roses.  They are silk except for the burlap hydrangeas that I got at Hobby Lobby. White flowers are also another favorite of mine.

I've also added Mercury Glass candle holders that are from Ballard.

I bought the dishes through Joss and Main, another favorite of mine.

As an added bonus, my husband made this table!


Our whole family just loves it and loves him for making it!  It is now an official family heirloom.  Click here to see some other beautiful tables he has made.  Entry TableMaking the Entry TableMaking a Sofa Table.


I love the fresh simplicity of this table setting and will probably repeat it for several family dinners.  And I'll start shopping my house to add some variety and interest.

Have a wonderful day!

Love and blessings!

" Fire and hail, snow and clouds; Stormy wind, fulfilling His word."  Psalms 148:8

I am joining Between Naps on the Porch - Tablescape Thursday and Common Ground - Be Inspired

February 20, 2014

Making a Slip Cover - Part Three

The final step in finishing your slip cover is the skirt.  I'm going to put a tailored skirt on our couch but you can also put a ruffled skirt on your couch, chair or love seat for a more romantic look.  If you've missed my earlier posts, click here for Making a Slip Cover - Part One and  Making a Slip Cover Part Two

The first thing I do is measure out my welting by wrapping it around the couch.
Before I cut it, I add at least an extra foot.  Your slip cover may be a little looser than you expect and you don't want to run out of piping.  I use Wright's and order it on Amazon.
This is the third large spool I've used this past year making slip covers and reupholstering furniture!  After measuring out the length I'll need, I cover it with the couch fabric.

And then trim it off.  I pinned the piping to my couch approximately where I wanted and then went back around measuring up from the floor. This is the best way to make sure your skirt will be even.   I wanted my skirt to be 12" long so I measured up 12" from the floor.

I started my piping on the back corner of my couch where my stopping and starting point would not show.  I like to place a pin every 6-8".  It can be hard to tell what's going on when you take the slip cover off the couch and get it on the sewing machine.  Placing pens close together will help you be confident that you're sewing your piping where you want it.  You might want to put pins even closer together going around corners.
Then sew your piping onto the cover, pulling it tight and straight between your pins.  The above picture is correct - the below picture will result in your piping not being straight around your couch.
When you get all the way around the couch, you need to connect your piping to itself.  Cut your piping so that it overlaps the start by about 2 inches.  Then open up the end of the piping and cut the welting inside so that it ends right at the beginning of the start of your piping.

Fold back the fabric...
and fit the end of the piping around the beginning...
and sew it down, finishing off the circle around your couch.

Put your cover back on your couch, right side out.
Mark your corners with a pen or pin.  I realized after I marked  mine with a pen that I intend this slip cover to be washable and my pen mark may bleed so I recommend a pin.  Cut your skirts.  Because I had put my piping 12" from the floor, I cut 15" skirts for seam allowance and hem.

I wanted my skirt tailored with one piece on each side.  I measured the fabric, adding about 3" to each side, to fold under on the ends of the skirts.  With my cover still right side out, I pinned my skirts on.

I pinned on my front skirt and one side skirt and sewed them on; then repeated the process.  I then added small 'skirts' under the four corners.

 I used Stitch Witchery - an iron-on bonding strip - to put hems in my skirt.  This is the first time I've done it this way and I really liked it.  There is no seam showing.  If you're not planning on washing your slip cover, I would usually use iron on interfacing to finish off the skirt.  This gives the skirt some body and again, no hem showing.

And here is the finished slip cover!


This is our love seat across the room in the living room.  I made this slip cover months ago and then decided I might like a ruffled skirt on it.


I love this romantic look when I see it in other's houses but I think if I have this soft skirt, I need something a little more rustic in this area to balance it out.

I might have to replace it with a more tailored skirt.  What do you think?

When we got these new dining room chairs last summer, I immediately slip covered them to keep them clean.  They are white underneath but I wanted to be able to relax when my family ate spaghetti on them and know that if anyone had an accident, I could wash them or replace them.

This is another chair in our family room that I slip covered.  This style with a curvy back is not as easy to fit  and may want to slip down in the back a little bit but can still be done. I've added elastic circles that hook around the legs in the back to keep them from slipping.


And a parson's chair covered to match the window seat.


This couch took me several days to get done but I'm really happy with the result.  It looks just like a brand new couch and is durable and washable.  

I've never had any formal sewing training.  If you can sew a straight line you can make a slipcover. 

Love and blessings!

"Let them praise His Name with dancing" Psalm 149:3a

I'm linking up to Savvy Southern Style - Wow Us Wednesdays