

So whether you're wanting to protect new furniture or update old furniture, slip covers are great!
I'm slip covering a couch that I've never covered before. Oops! Not every piece of furniture's been covered! And it's a big project but it's no harder than a smaller project - just a lot of fabric to maneuver.
.JPG)
Buy a fabric that is durable enough to sit on but not too heavy to work with. You'll have to sew through 4 layers of fabric when adding your piping. If you pick something that's washable, you can wash it ahead of time or not. I've never known anything to shrink so much that it won't fit. It just gets tighter and actually fits better.
If you pick a print, you will need extra fabric to work around your pattern. You'll want to center your pattern and make each side match.

For my couch, I bought 15 yards of 'Natural Duck' at Walmart for under $6.00 a yard. It might be good to start with something inexpensive like this. I made my first slip cover out of a discount sheet set and then later used it as a pattern. I keep one old slip cover for every piece of furniture for a pattern.
I bought 15 yds to cover my couch - a total of $90. Not bad for a whole new look! Update: I ran out of fabric on this project and bought another 7 yds for a total cost of $150.
Here's a chart that will help you determine how much fabric you're going to need. http://honeyandfitz.com/2012/02/10/how-much-fabric-do-i-need-to-reupholster/
Don't scrimp. If anything, buy extra. You'll have it if you mess up or if your slip cover gets stained in the future. That's one reason I like to use something like the cotton duck. You can find it anywhere and replace a cushion cover if you need to.
You will need:
- a sewing machine with piping foot
- fabric
- thread
- scissors
- pencil
- measuring tape or yard stick
- straight pins
- piping
This is the easiest style of furniture to slipcover - straight lines on the back, loose cushions. After I started making slip covers, I started buying this style of furniture, knowing I could slip cover it more easily. Also, I just like the style.

A couch or chair with more curves will be more difficult, but it's possible. You can't slip cover a recliner.
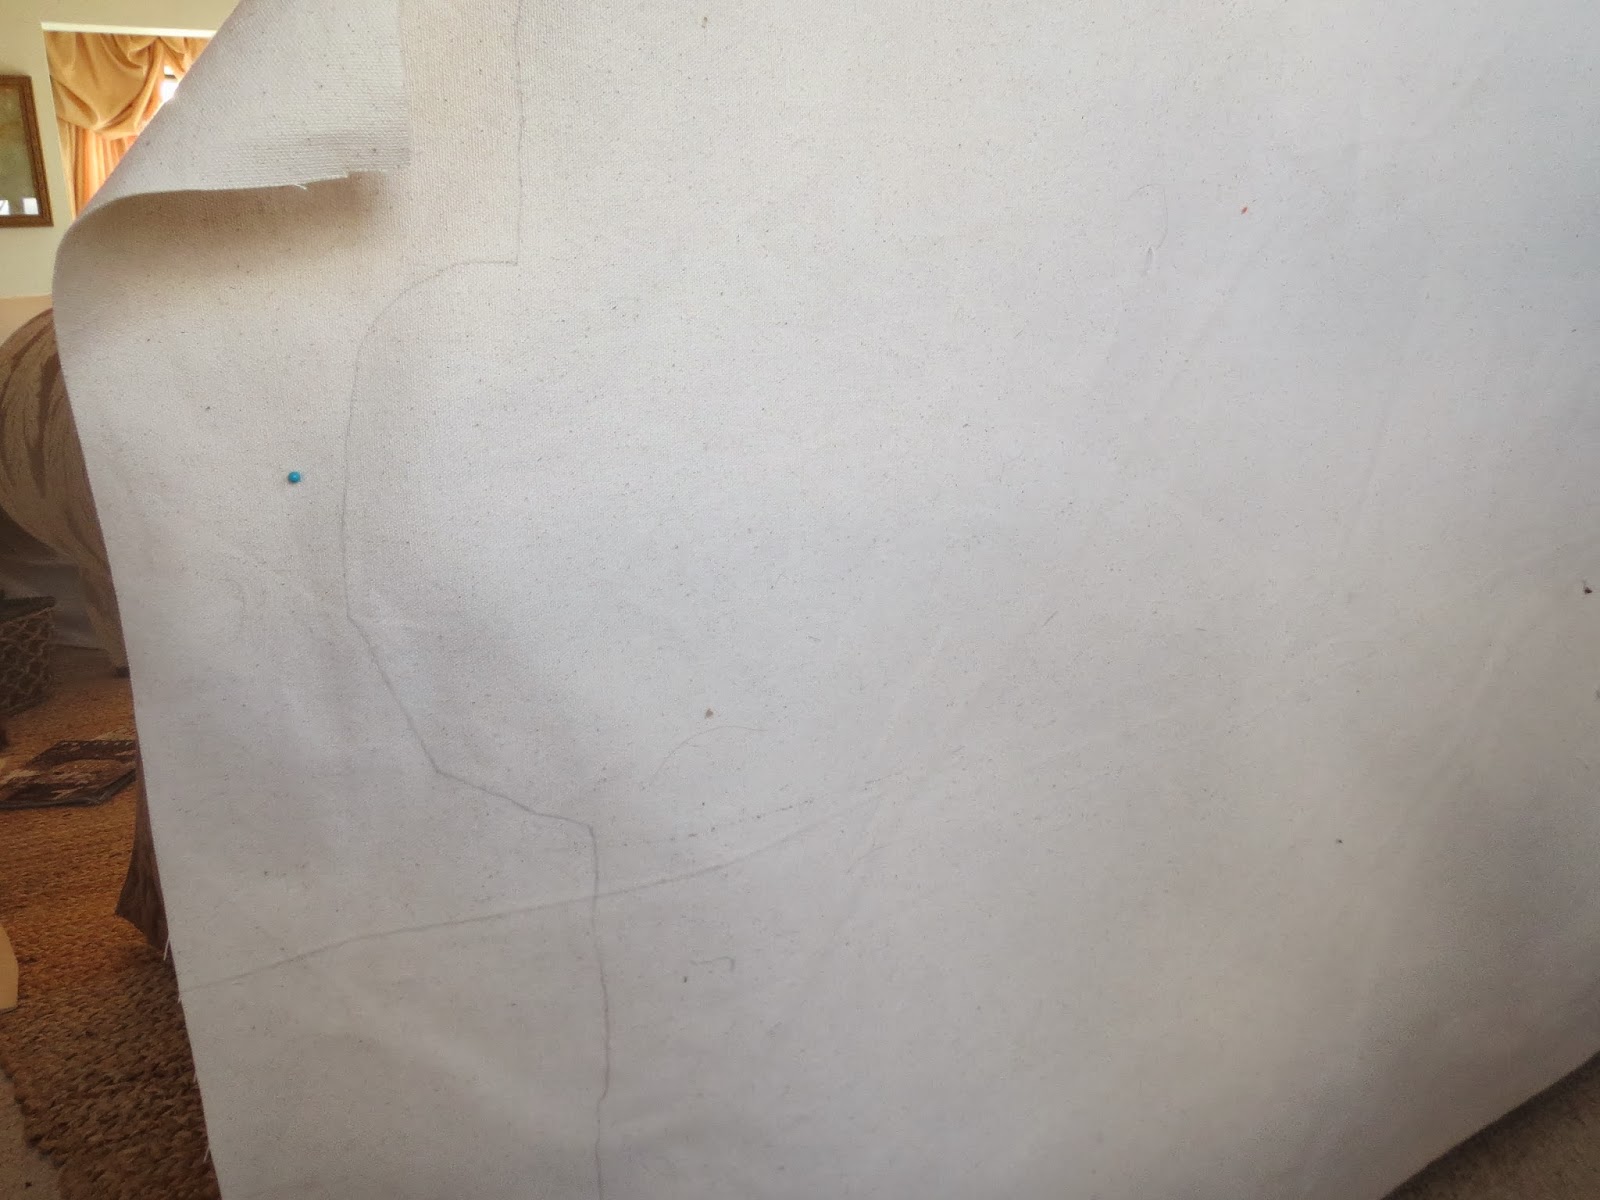
I always start with the back of my chair or couch because that's usually the largest part of the furniture and you want to cut that first. I first take a general measurement and then cut a piece of fabric so I don't have to work with whole bolt.

Pin the fabric to the sofa with the wrong side of the fabric out. Then lightly trace the shape of the sofa onto the fabric. Cut out the shape adding a half inch for your seam allowance. Make this back piece long enough so that you can attach the skirt at the right place.

The next piece you're going to cut is the front of the back of the sofa. Pin your two pieces of fabric together, wrong side out.

Push your fabric in to fit around the arm, cutting it so that you can get it to fit correctly. You can pin it directly to your couch as you fit it. Keep tucking and pinning and trimming until your piece fits your couch.


Pin your two pieces securely together. You're now ready to sew them together. Sew your dart first and then sew your two pieces together. Put your slip cover back on your couch and see if you're satisfied with the fit. If not, fix it before you go further.


The next two pieces to cut are the arms. If your arms are curved, these are probably the hardest pieces to cut and get to fit correctly. Pin each arm piece to the other pieces and trim the edges until they fit correctly. Make sure to make these long enough down the sides of your couch to reach the skirt. Also make sure they're long enough to reach the interior bottom of the couch. If they're not, they'll pull when you sit down. Leave a little extra. You can always make your slip cover smaller but you can't make it bigger.


Once you get one arm piece cut out, use it to cut another one out. Keep in mind that if your fabric is not reversible, you need to cut a mirror of the first piece to fit the other arm.

Pin your arms in place, trimming away any extra fabric where it will be sewn to the first two pieces. Trim away any extra where it attached to the back of your couch.

Sew your arm pieces onto the back pieces.
Then you're going to cut piece to fit the front of the arms. I trace around the arm to get the right shape and then cut it out, allowing extra for the seam allowance.

Use your first piece as a pattern to cut the front of the other arm by flipping it over so that you're getting a mirror image.

Cut two pieces of welting the length you need to trim these two pieces.

Then cover your welting with your fabric. I simply use a scrap of fabric and line my welting up to the edge, rolling it over to cover the welting. I use a piping foot so that I can sew tightly up against the welting.


Then I trim the excess fabric off, leaving my seam allowance.

I cut into the covered piping every inch or so, so that it will bend easily around the curve of arm front.


Then making sure that your arm piece is exactly where you want it, pin the front arm piece to it. Sew them together.

The piping on the edge of your arm looks professional and also adds durability to this area.


This took me a full afternoon to accomplish. I usually stop on the body of the slip cover at this point and cut out my cushion covers. I want to leave long pieces of fabric for my skirt and the piping on the skirt, so I stay along one edge of the fabric when I cut out the cushions so that I'll have one long piece on the other side. I'll demonstrate when I show you how to cut the cushion covers out in my next post.
If you can sew a straight line, you can make a slip cover. Don't get discouraged if you make mistakes. I had to take one of my arms off and reattach it to get it lay correctly. It's just like fitting a dress and putting darts to make it lay well. You can do it!
If you're worried, get an old sheet and make a pattern. Then you'll have confidence as you cut out your more expensive fabric. NEVER tell yourself that you'll need less fabric than the chart says! You'll be upset if you run out of fabric after all your hard work. Buy extra - then make matching throw pillows to tie your room together.
You can get a custom look in your own home for very little money by sewing!
Click here for Part Two
Love and blessings!
"Poor is he who works with a negligent hand, But the hand of the diligent makes rich." Proverbs 10:4

I can't wait to see the finished product. I think it will make such a huge change in that room. Looks great!
ReplyDeleteDo you have any tips for making one from the old slip cover? I don't want to start from scratch if i don't have to...
ReplyDeleteHey Sarah! If I'm understanding you correctly, you could use the old slipcover as a pattern for a new one. That's actually an ideal situation because the hardest part is cutting it to fit. I have done this often when I'm changing my rooms. I also keep an old set for each piece of furniture to use as a pattern for the next time!
Deletelove and blessings~
Hi Lynda. This is exactly the sort of tutorial I was looking for. Thank you so much for being so descriptive. I'm covering a club chair with drop-cloth canvas - it's a chair that always has a dog (or two) on it, so I need durable fabric. I also want it to be washable, and that will include the cushion covers. Any ideas as to how to make the cushions so that they can be removed? I don't want to do a zipper if I can help it. I'm handy with the sewing machine, but I have never been able to do those correctly.
ReplyDeleteHi Dear,
ReplyDeletei Like Your Blog Very Much..I see Daily Your Blog ,is A Very Usefull For me.
You Can see = Slipcovers for Sofas
Insideoutvictoria offers a variety of slipcovers for sofas, sofa slipcovers in Toronto & Canada. Our unique slipcover system allows you to change your cover.
Visit Now - Slipcovers for Sofas
First time visitor here,...........................................................................................
ReplyDeleteYou are officially my new Hero.
dcb
Besides, if you have an extra large sofa at your home then you can consider buying the extra large sofa covers. This sofa covers have a good length and breadth which will surely fit your sofa.
ReplyDeleteThis is such an inspiring and informative post! I love how you’ve broken down the steps for making a slipcover so clearly. It’s motivating to see how DIY projects can breathe new life into furniture. I’ve been thinking about upgrading the look of my lounge furniture but wasn’t sure where to start. While DIY is an amazing option, I’ve also come across The Cover Company UK, which specializes in custom-made lounge covers. They offer high-quality, tailored solutions that are perfect for protecting and enhancing furniture. For someone who might not have the time to sew, their covers are a fantastic alternative! Thank you for sharing this helpful guide!
ReplyDelete